
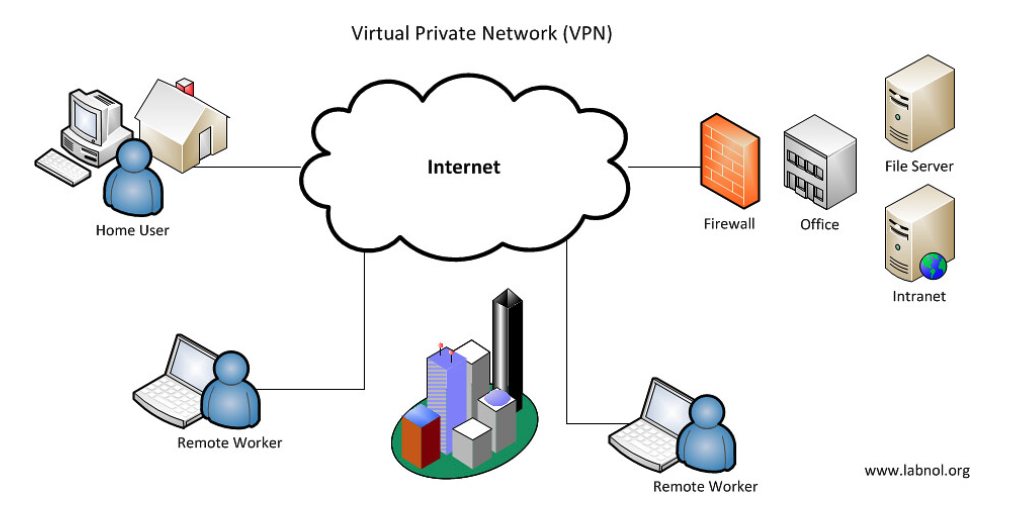
Using a Virtual Private Network (VPN) has grown more crucial at a time when internet privacy and security are top priorities. A VPN increases online security and privacy by encrypting your internet traffic and hiding your IP address. This article will provide a step-by-step process for creating and configuring a Virtual Private Network (VPN) in Kenya.
Referral codes and promotions can change frequently, so it’s best to check the official websites of the VPN services you are interested in or look for current promotions through search engines or coupon websites like VPNpro and VPNSTORE.
How to Configure a Virtual Private Network in Kenya
1. Choose a VPN service
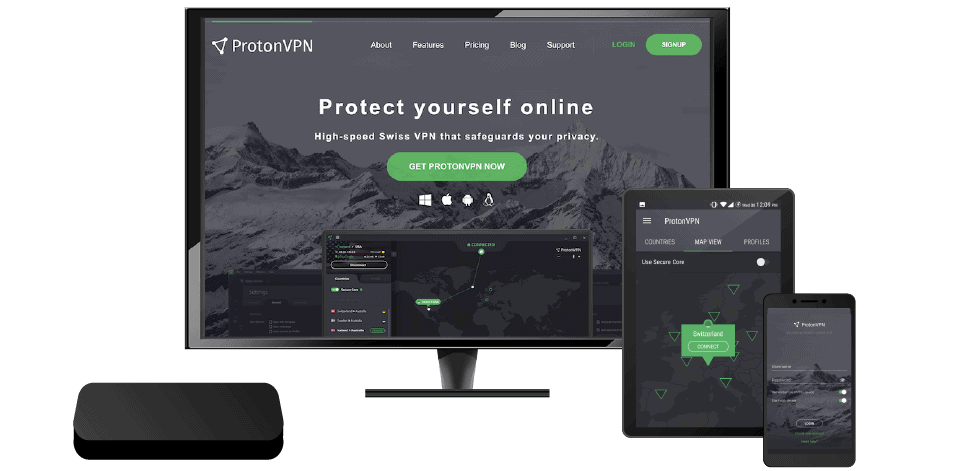
Numerous Virtual Private Network providers are available, each with its features and benefits. Select a reputable VPN service provider that offers servers in Kenya or nearby regions. Some popular VPN providers include NordVPN, ExpressVPN, CyberGhost, and Surfshark. Compare their features, pricing, and server locations to find the best one for your needs. If you have a referral code, note it down for later use.
2. Sign up for an Account
Sign up for an account on the VPN provider’s website. You must submit your email address and establish a password. Some VPN companies give referral codes during the registration procedure, which provide extra benefits such as longer free trials or affordable prices. Enter your referral code if you have one when requested.
3. Download and Install the Virtual Private Network App
Access the dashboard or account area of the Virtual Private Network service after signing up. Look for the VPN download link for your device’s operating system (such as macOS, Windows, and Android/iOS). Follow the installation steps after downloading the program.
4. Launch the Virtual Private Network App and Log In
Once the app is installed, enter the login credentials you created during the signup process. A referral code may already be applied to your account, granting you any associated benefits.
Read also, How to Start a Magento Website in Kenya
5. Select a Server Location
After logging in, you will see a list of server locations. For optimal performance, select a server location that is geographically close to you or suits your specific needs, such as accessing region-locked content. This choice determines the virtual location websites and services will perceive you as being in.
6. Connect to the Virtual Private Network
Click the “Connect” on the VPN app to establish a secure connection to the chosen server. The app will encrypt and route your internet traffic through the VPN server.
7. Verify Your Connection
To ensure your VPN connection is active and working correctly, visit a website like whatismyip.com before and after connecting to the VPN. If the IP address displayed changes after connecting, it confirms that your internet traffic is routed through the VPN server.
Conclusion
It is simple to set up a VPN in Kenya; you only need to choose a provider, create an account, download and install the VPN program, log in, pick a server location, and connect to the VPN. Following these steps gives you more privacy and security when exploring the internet. Consider the referral codes provided by several VPN companies to take advantage of additional advantages.
Remember that depending on your VPN service, the particular methods and user interfaces may differ slightly. If you encounter any configuring problems, always contact the provider’s documentation or customer assistance.
Read also, Top Affordable Shopping Destinations in Nairobi on a Budget
Read also, How to Build a Virtual Assistant Bot for a Kenyan Business
Read also, How to Setup and Use IBM Cloud platform in Kenya