This article provides information on how to get your Facebook page verified. Facebook is a massive and important player in the social media industry. It has been in operation since 2004, thanks to Mark Zuckerberg, who came up with this brilliant idea.
Zuckerberg came up with the concept of creating a platform where people of all backgrounds can belong to society, share information, conduct business, and make friends.
Facebook, which is a subsidiary of Meta, has grown in popularity over the years because its benefits outweigh its drawbacks. Through this single application, many businesses have grown and expanded, numerous friendships have been formed, and numerous opportunities have been provided.
Users can create both personal and business accounts on Facebook. The separation of personal and business accounts has been one of the company’s milestones that has contributed to business profits, as an online presence is absolutely necessary in this day and age.
For example, an internet site for a physical bakery enables the businessman to post enticing pictures, delivery information, addresses, and the ability to make orders and even payments online. Isn’t this what we strive for all the time? Processes that are quick and mobile.
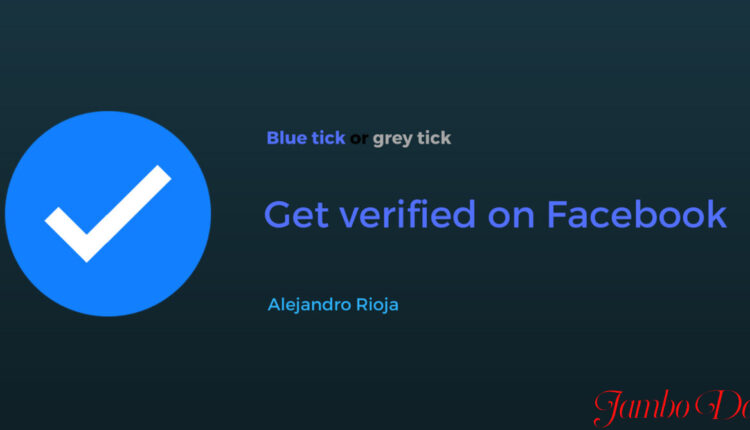
In this article, we’ll go over the steps you’ll need to take to get your Facebook page verified.
This is important for businesses because it demonstrates to viewers, potential customers, and devotees that such a business is valid.
It also proves that the company is authentic and not an imposter account attempting to commit fraud on unsuspecting clients.
The following conditions must be met in order for an account to be considered eligible for verification:
- It must be demonstrated that the content is of public interest.
- Account holders must always follow Facebook’s Terms of Service, Community Guidelines, and Policies.
- The account must have a complete profile that includes all relevant and necessary information.
Read the Top 10 Biggest Facebook Groups In Kenya
The steps to obtaining that coveted blue badge that announces your credibility to the entire world are as follows:
- Make sure you have a soft copy of a government-approved identification document, such as your driver’s license, passport, or ID card.
- Go to your Facebook page, navigate to the Help Center, and tap on the “Request a Blue Verification Badge” option.
- You will then be asked to provide a few explanations why your account should be verified, and this is where you can endorse your idea of establishing a profitable online business.
- You can also include pertinent URLs or links that demonstrate public interest in the account.
- Then you submit your request and wait for a response from Facebook. The organization may either accept or reject your request, and if denied, you must wait 30 days before submitting another application.
Verifying a Facebook account is an excellent way to gain followers and establish an online presence. This is why the majority, if not all, of the world’s celebrities, have “The Blue Badge” beside their profile names.
This will boost your efforts in building a responsive and satisfying online business.